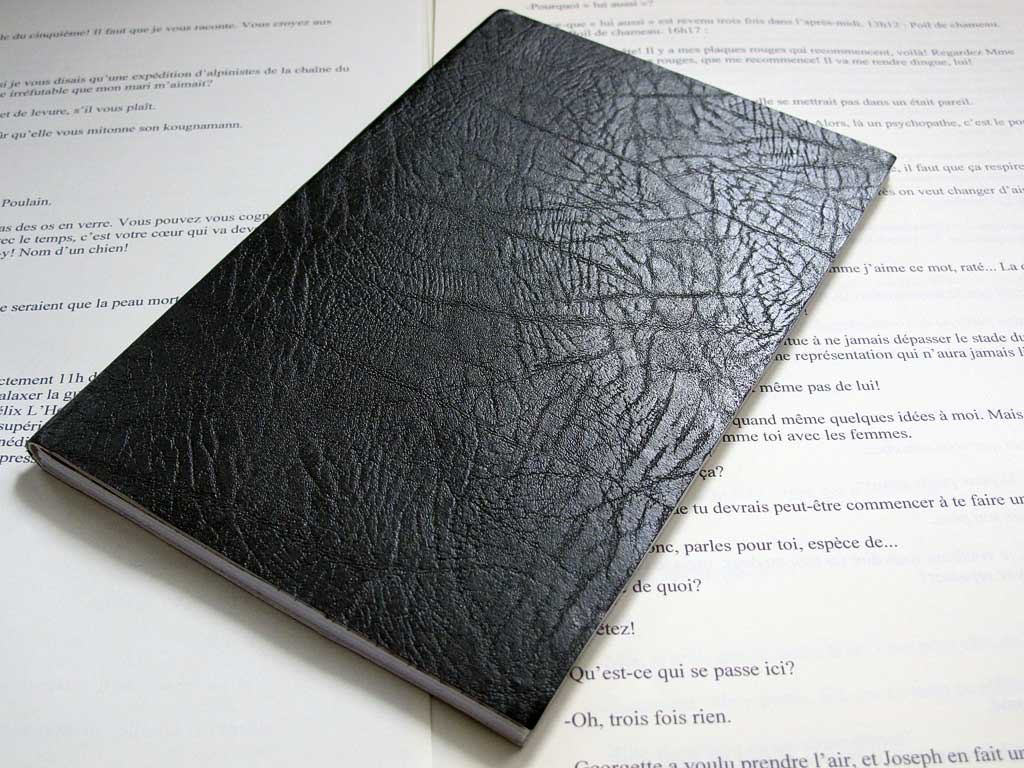
As a stationery geek and end-product control freak, I’ve made my own notebooks for a few years*. The design has evolved a bit over time. The steps involved are shown below.
The above notebook has identical dimensions to a Penguin paperback, which I think is a neat size. However I usually make A5 notebooks since (a) it’s a more efficient use of paper for the home set-up and (b) it’s easier. The pictures in the instructions below show the A5 size.
The paper
The paper should be smooth so it’s nice to write on. It should be thick enough to stop bleed-through from gel ink pens, but thin enough to be practical – there’s a balance to be had. I find the 100gsm A4 smooth white paper from papercard.co.uk to hit the sweet spot.
 For the lines I’m currently using a ~2.5mm grid of light green squares with heavier dark blue horizontal lines every 5mm. I chose the dimensions to control my scrawl. Here’s the InDesign file of the grid.
I use a Canon MG6150 printer for printing at home. For a cheap-ish home printer, the quality of the printing is very good, but the ink goes down whether you use the printer frequently or not. Another gripe is that whilst it does duplex and full-bleed printing, it can’t do both at the same time. For the notebooks I do a batch of full bleed pages, and do ‘manual duplex’.
Construction
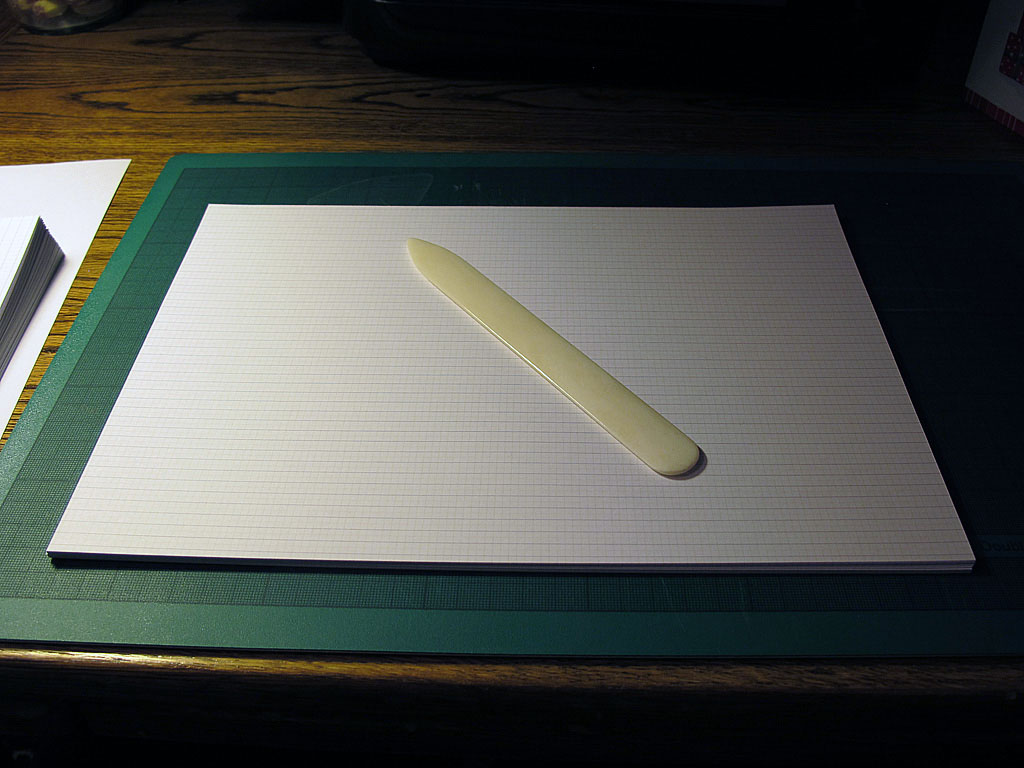
I use a bone folder to get nice crisp creases in the paper.
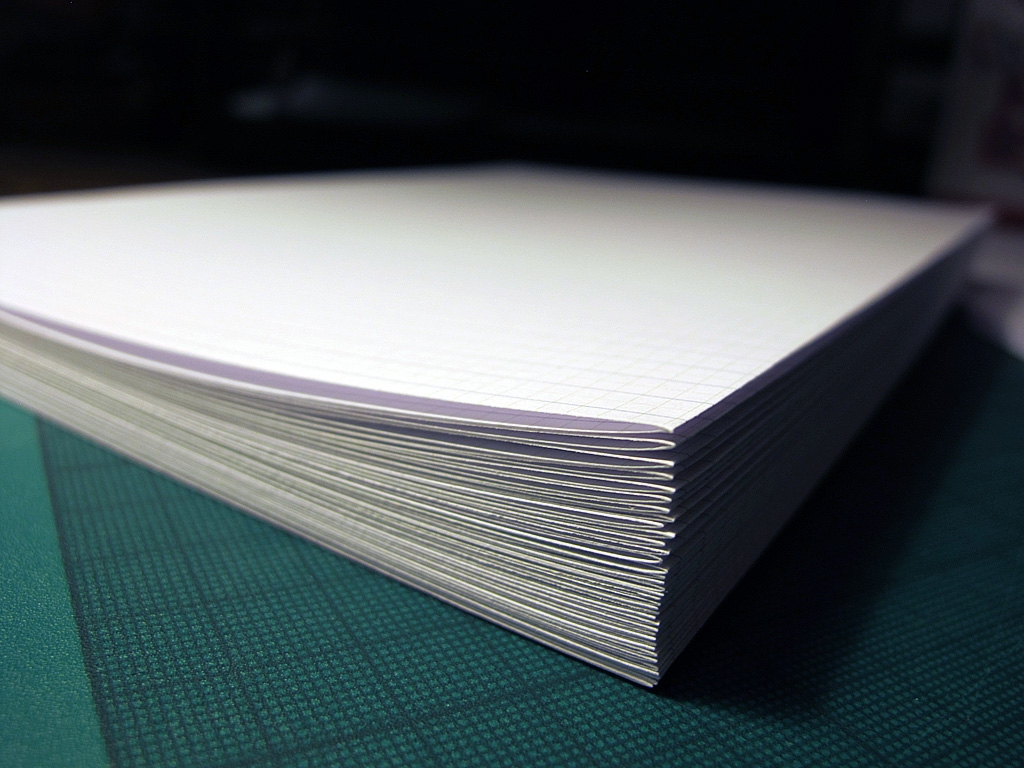
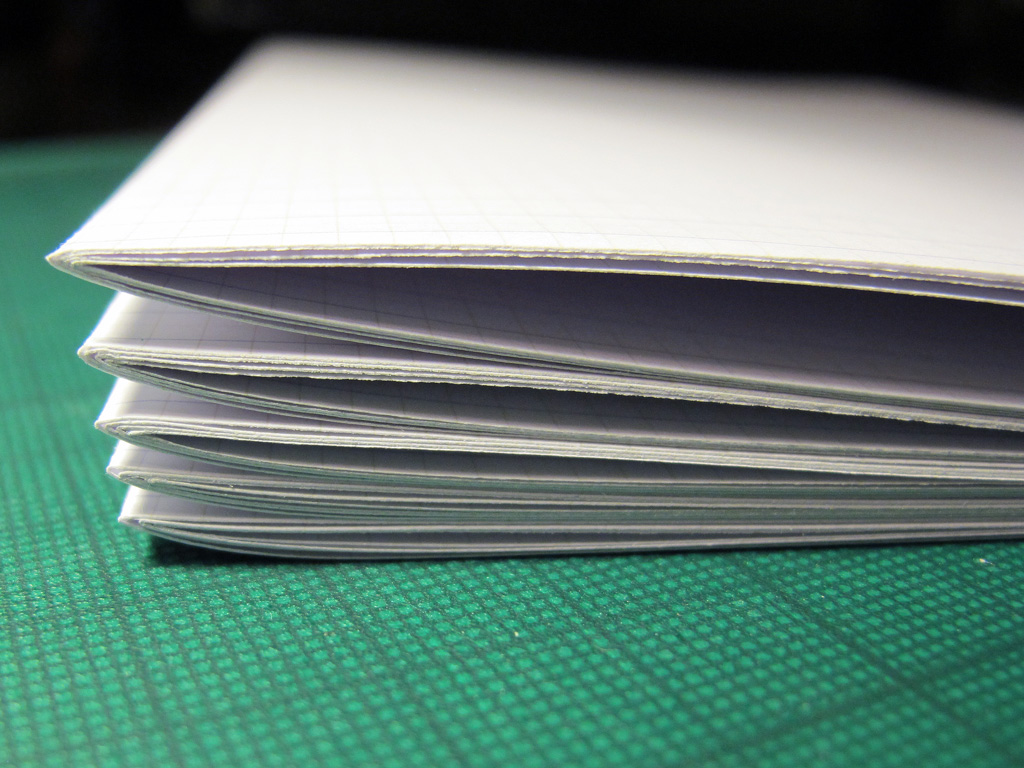
The paper then needs to be placed into groups of signatures. I find five signatures with four folded A4 sheets in each signature to be just about right.
Tucking pages inside each other like this results in the opening edge being non-flush. Some people like this; I don’t. I use a scalpel and metal ruler and trim down the edge of the paper. I find it’s difficult to do this consistently well – concentration, viewing the work from overhead, a steady hand, firm cut, and patience will all help.
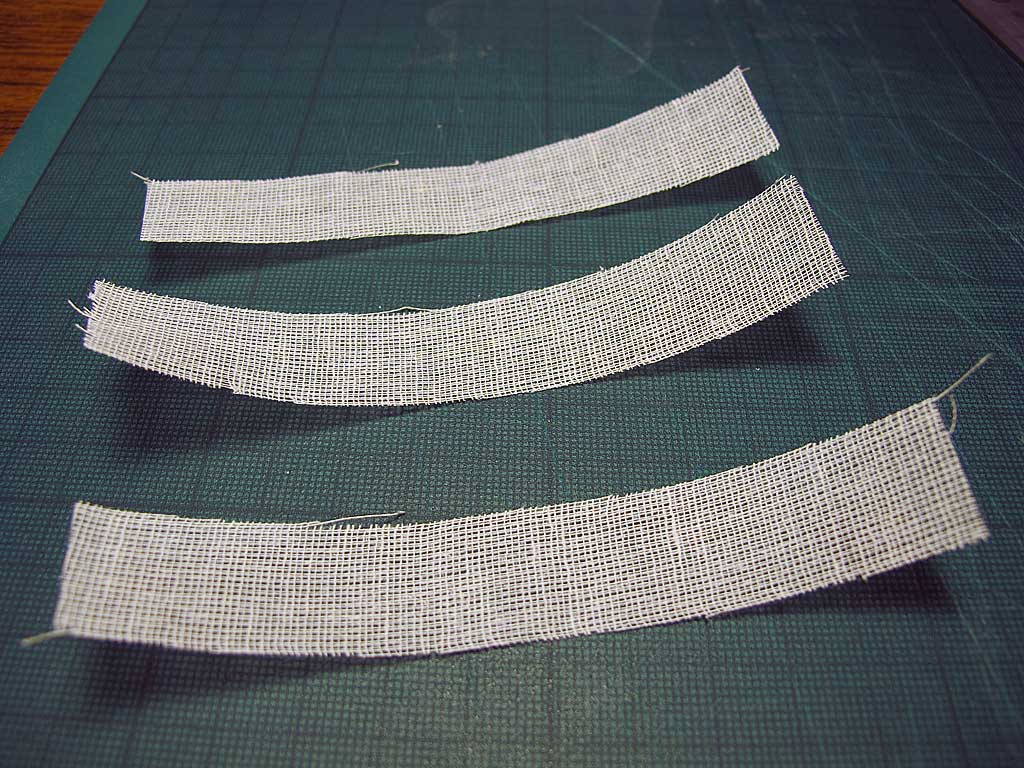
Next I cut strips of mull which will give some structure and support in the finished book. These are about 5″ x ¾”.
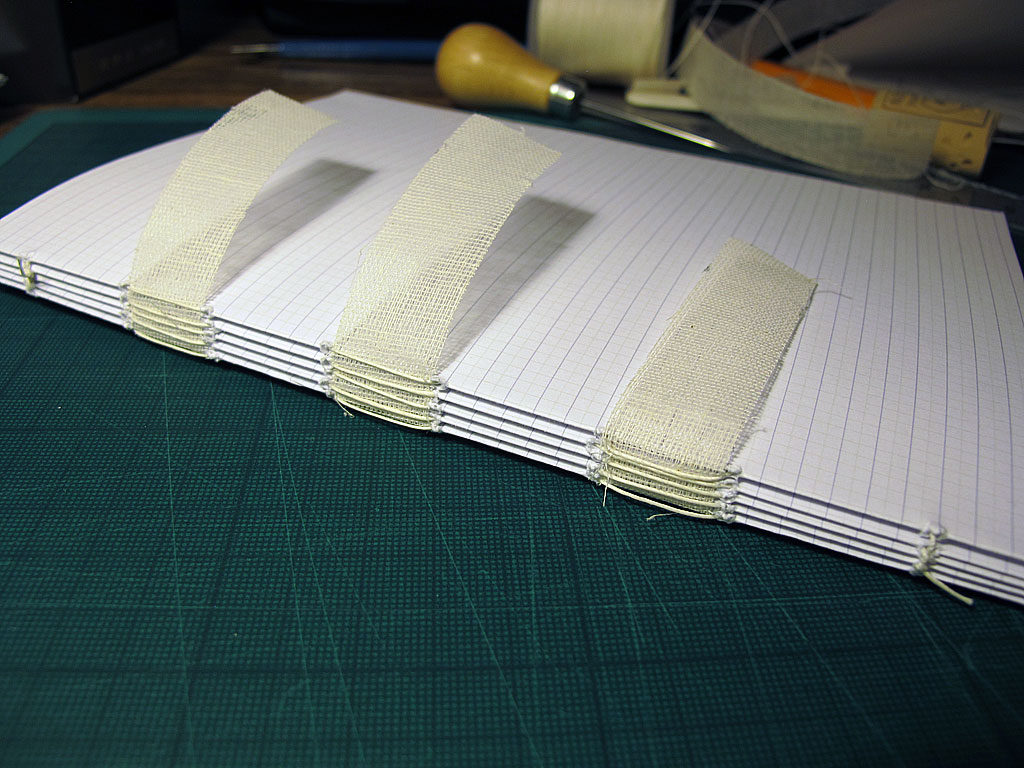
After figuring out where the holes will be, a guide for the holes is prepared, the needle threaded and signatures sewn. It is a bit of an art in itself, but once you get going it’s easy. I would highly recommend watching this video for tips on how to sew a book.
To make my books I use PV bonded leather a bit like this. I wanted something like the soft Moleskine® cover and this was the closest I could find. I’m not overly keen on the pattern.
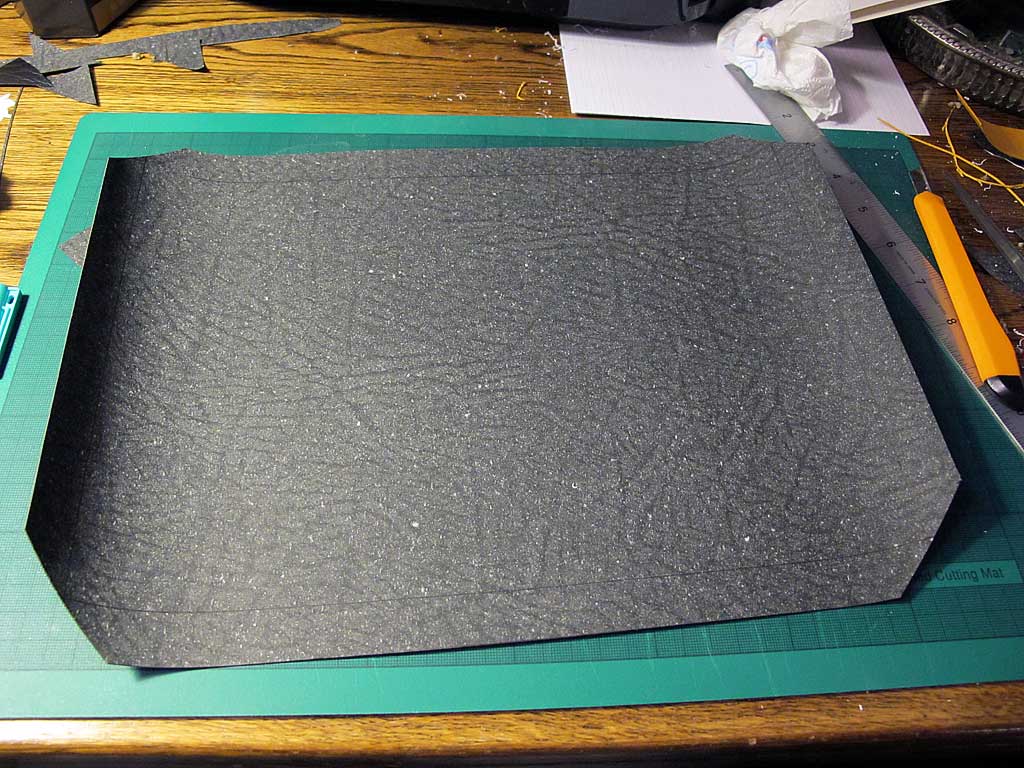
To figure out the required cover size, I roll the book from front to back to get the width of both front and back of the book as well as its spine, then I add 1½ inches which covers the two flaps. Notches should then be cut at the corners at 45° angles.
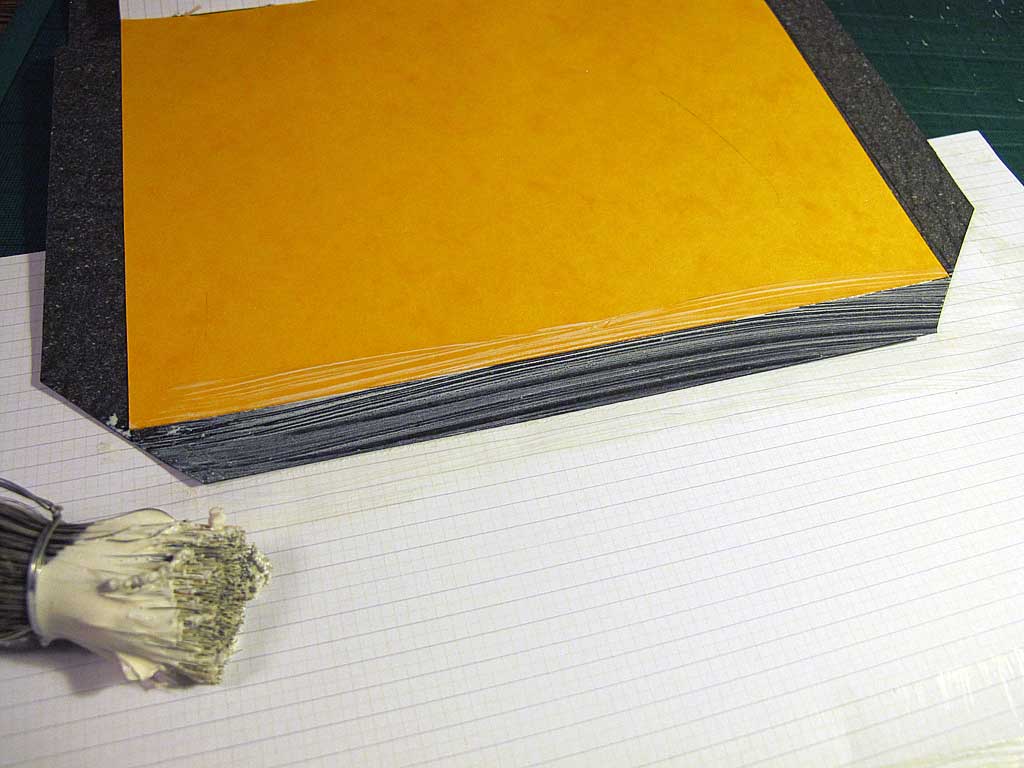
To glue the book I use EVO-STIK PVA glue (big tub from a DIY shop) applied thinly but comprehensively with a short stubby glue brush. Scrap pieces of paper should be used whilst gluing to prevent the glue from getting onto bits you don’t want to glue. I start by gluing the mull strips onto the cover, then gluing up and placing a cut piece of card on top. Then do the same on the other cover. All that then remains is to glue up the flaps.
To glue the top and bottom flaps you need to do the front and back together, so you can tuck the central part underneath the signature.
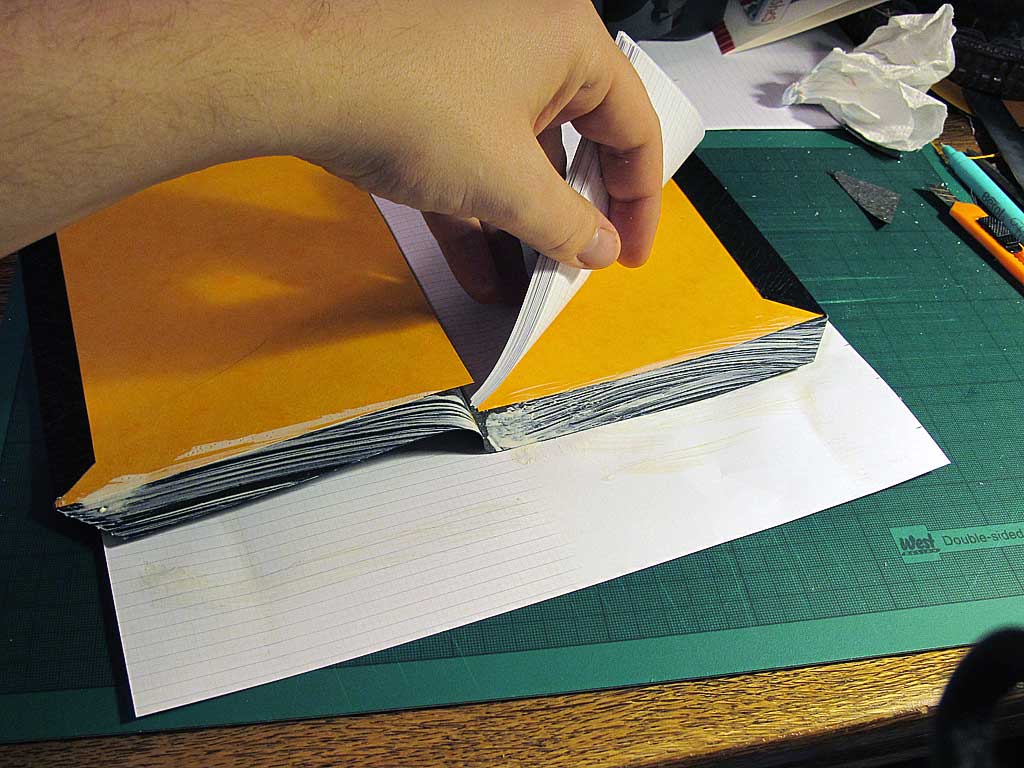
The finished notebook is quite hardy and you can open it flat.
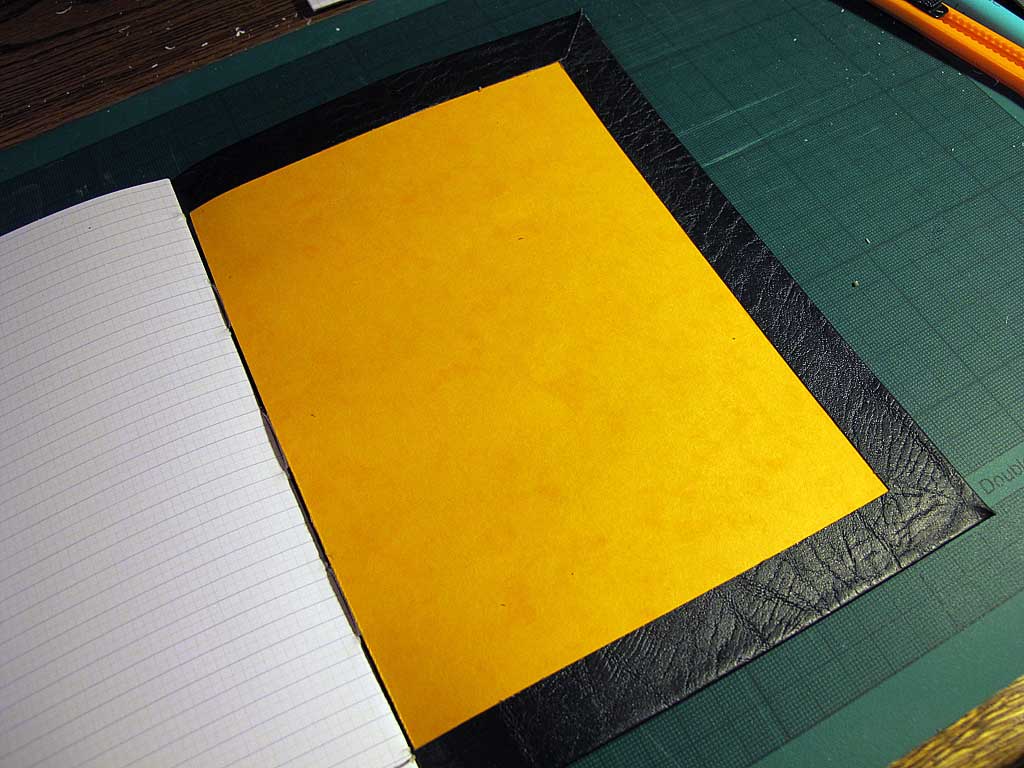
In some books I’ve added arty end papers. If it’s for my own use I don’t bother 🙂
If anyone knows where I can get hold of smooth PV leather or similar material that sells to UK in reasonably small amounts please let me know.
*It hasn’t stop me from buying nice notebooks from shops when I see them.