The rear gear hub on my bicycle hadn’t been running smoothly – it was noisy and would not turn freely when I back-pedalled, causing the chain to go slack with a good chance of coming off. I think either some dirt had made its way into the hub or some over-zealous cleaning had de-greased the grease. I decided to have a go at getting it running smoothly again myself.
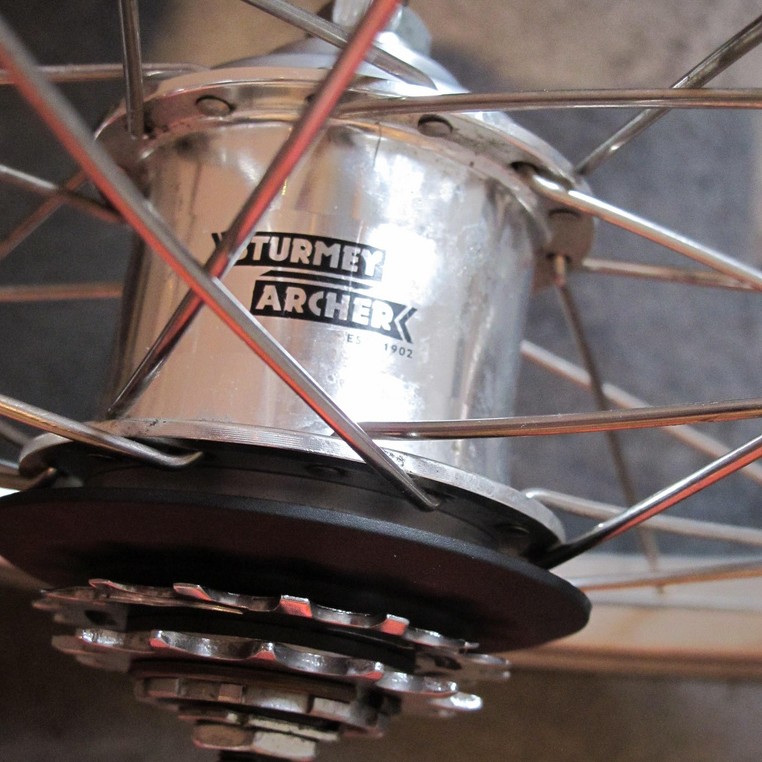
The bike is a six-speed Brompton. It has a standard three-speed Sturmey Archer BWR hub gear, combined with two derailleur-adjusted cogs on the back wheel:

Step 1 – Disassembly
After removing the rear wheel from the bike, disassembly is a case of undoing everything there is to undo. This is a pretty simple concept but there are a few things to be wary of and I would highly recommend watching these videos before dismantling:
Sturmey Archer 3 Speed hub strip down by Paul Kent
Sturmey Archer hub pawl spring removal by Paul Kent
The trickiest part was cracking the drive-side dust cover open with a hammer and punch. I had to use WD-40 to loosen the parts and had to hit really hard many times with the hammer. A bigger hammer and a vice would’ve been useful. It was only when I was feeling like giving up that the thing eventually shifted.
When taking the hub apart, it’s important to place everything down in the order that it goes in which will help when you have to put it back together again.
There are a few parts that will just fall out if you hold the hub drive-side down when you’re half way through disassembly, e.g. the pawl pins and pawl springs. If a great deal of care isn’t taken, the pawl springs will disappear on to the floor very quickly and be almost impossible to find. When this happens, I highly recommend switching the main room light off and placing a torch at an oblique angle on the floor, as after 20 minutes of looking this was the only way I was able to locate them.
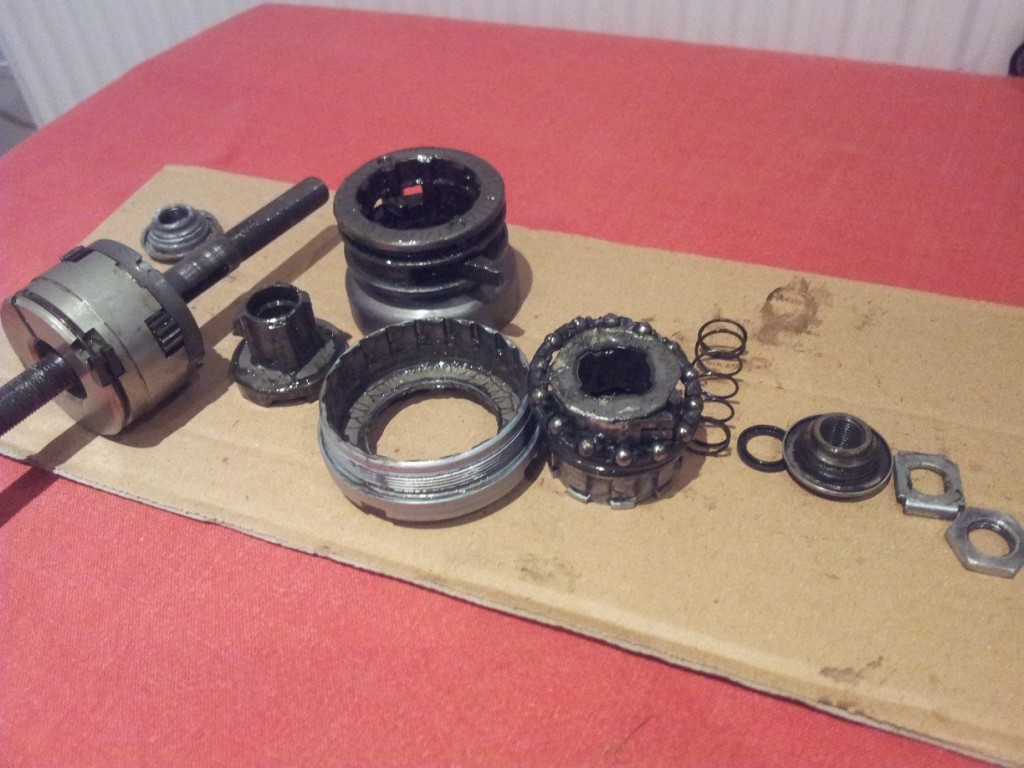
 Part-dismantled Sturmey Archer BWR hub gear
Step 2 – Cleaning
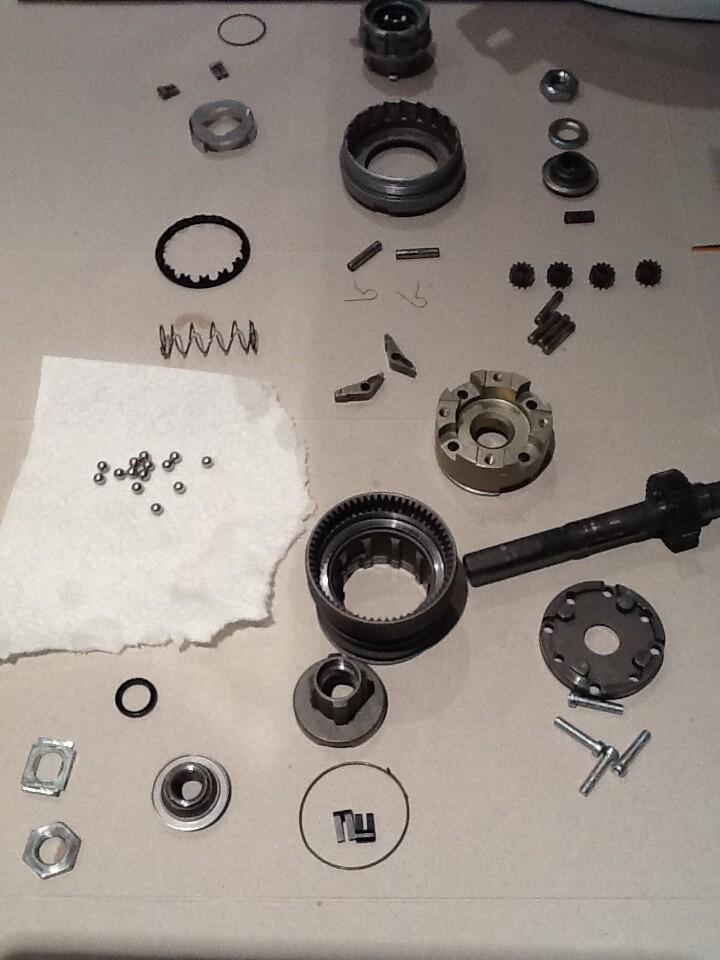
To clean the hub I used Dirtwash citrus degreaser spray and scrubbed with a toothbrush, then rinsed each part in really hot water. Everything was placed on a paper towel and air-dried. Here are the parts after cleaning:

Step 3 – Lubrication and re-assembly
Here are two more excellent videos by Paul Kent which are well worth watching before attempting to reassemble the hub:
Sturmey Archer 3 speed hub rebuild by Paul Kent
Refitting Pawl springs on a Sturmey Archer Hub by Paul Kent
The hubs themselves come greased when you buy them. I decided to try switching to oil as a lubricant for the planetary gears with the outer ball races greased with lithium grease. No particular reason – I just wanted to try something different and had read lots of people have success with various kinds of oil. The big no-no is 3-in-1 which will varnish over time. I’ve seen general motor oil recommended, but in the end decided to go for Phil Wood tenacious oil which had also been recommended. It will be interesting to see how well the oil does. I’m planning on feeding it a bit more oil through the adjusting cable hole every couple of months.
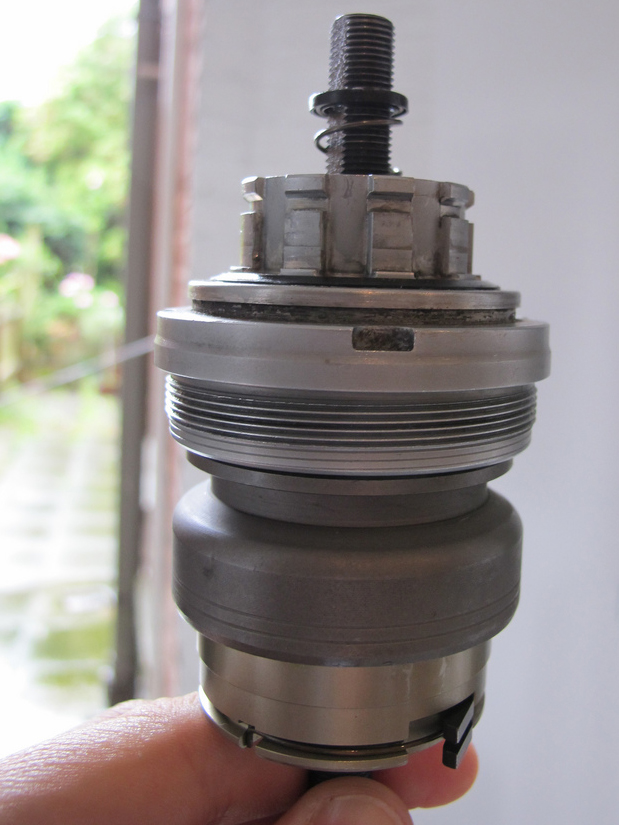
Re-assembly is pretty straight forward once you’ve figured out how it all fits together. The hardest part is getting the pawl springs back in which can be a bit fiddly, but the Refitting pawl springs video above does a great job of showing you how it’s done.
It’s important not to over-tighten the cones – they should be tightened so there’s no play between the wheel and axle, but no more. You’ll then need cone spanners to do up the lock nuts to hold them in position.
All in all it was quite satisfying doing the service myself. The hub is once again smooth-running and I’m hoping it will stay that way for a while.

Hi James, sorru to resurrect a 7 year old post, but I’m curious about the screws that hold the 2 partsoaround the sun of the planetary gear. They are quite stiff to remove and seem covered with some glue to hold them firmly into place. Have these screws moved on your hub after you cleaned and put them back into place (and cycled many miles)? Were Sturmey Archer guys too catious or is this thread-lock compound a must have? Thanks.
The screws didn’t come out again, and I didn’t use threadlock. I’ve sinced switched back to regular greased hub. To be honest I have a few rear wheels all with Sturmey wide range and I’m no longer sure which bike this is fitted to. Hope you managed to service your hub ok and happy cycling!
Hi James,
Thanks for replying. I have taken my SA hub apart completely since my comment and put it all back together with fresh grease. I haven’t used the bike so much recently, but it is purring nicely 😉
Thanks again for your feedback.